SAVE THE PIECES
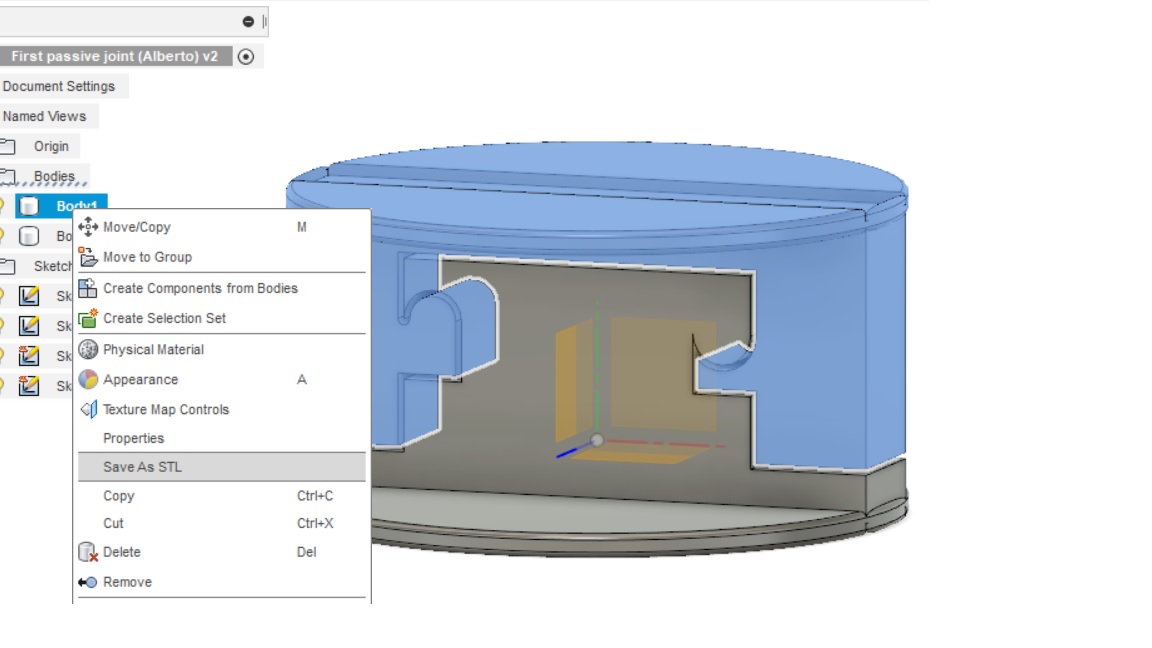
First it is necessary to select the piece that you want to save in order to print it. When is selected you have to go to your menu, where it appears all the sckets and bodies an select the one that belongs to the piece that it will be saved. Once is select with the mouse we click using the right bottom and select the option save as stl.
ULTIMAKER CURA 2/2+
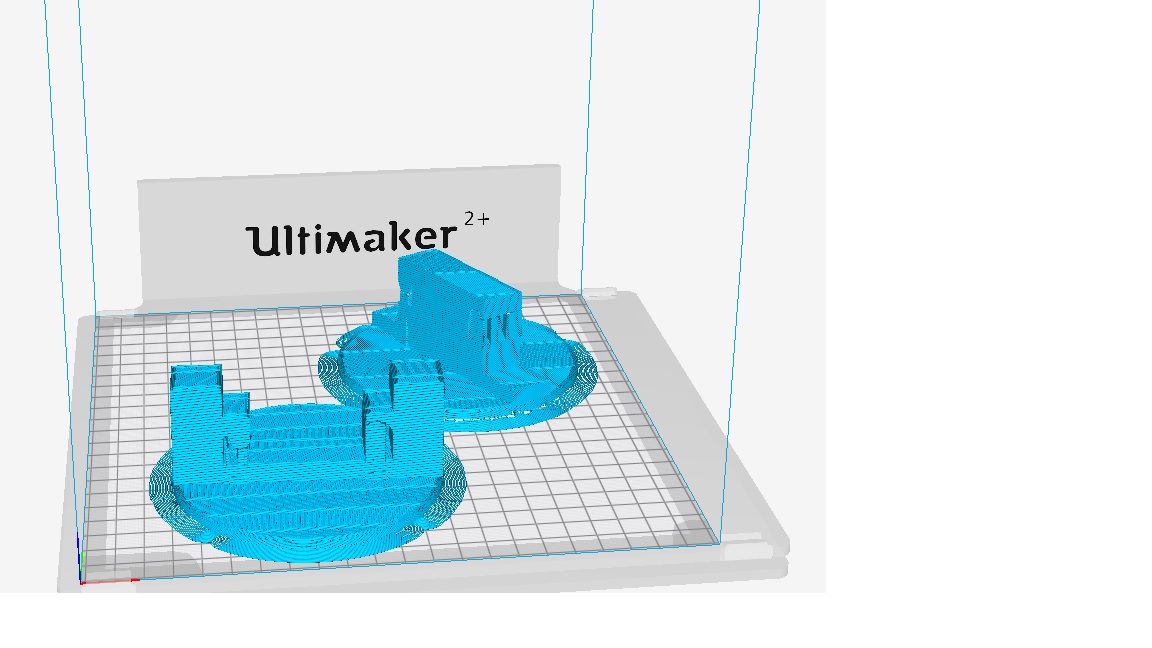
Once both pieces has been saved, the ultimaker cura program must be opened in order to print those pieces. First of all the material have to be chosen. In this case we are going to use PLA. Then the Nozzle with can be ajusted as you want in this case 0.6mm that's why the fine can be 0.3mm because the maximun is half of the nozzle value.
Now we can choose if we want support or not for the pieces in this case it is necesssary.
Lastly we have to import the pieces into the program and place it inside the printing board, otherwise the 3D printer wont be able to print the figure. We have to make sure that the pieces are placed in a flat surface so it will be printed in the right way.
The last step is to saved the document into a memory card that will be placed into the 3d printer with the format .gcode so the printer can recognise the document.
3D PRINTING PREP
First of all we have to make sure that the printer has been cleaned before using it and that there is no material inside the printer from the last impression otherwise we wil have to clean it.
p>Then we check the material and decide if there enough material to print the pieces if not we have to take more and cut the first loop. Unfortunatelly that is material waste that can't be used. Then you can print your pieces.
SAVE THE PIECES

ULTIMAKER CURA

3D PRINTING PREP

FAILURE
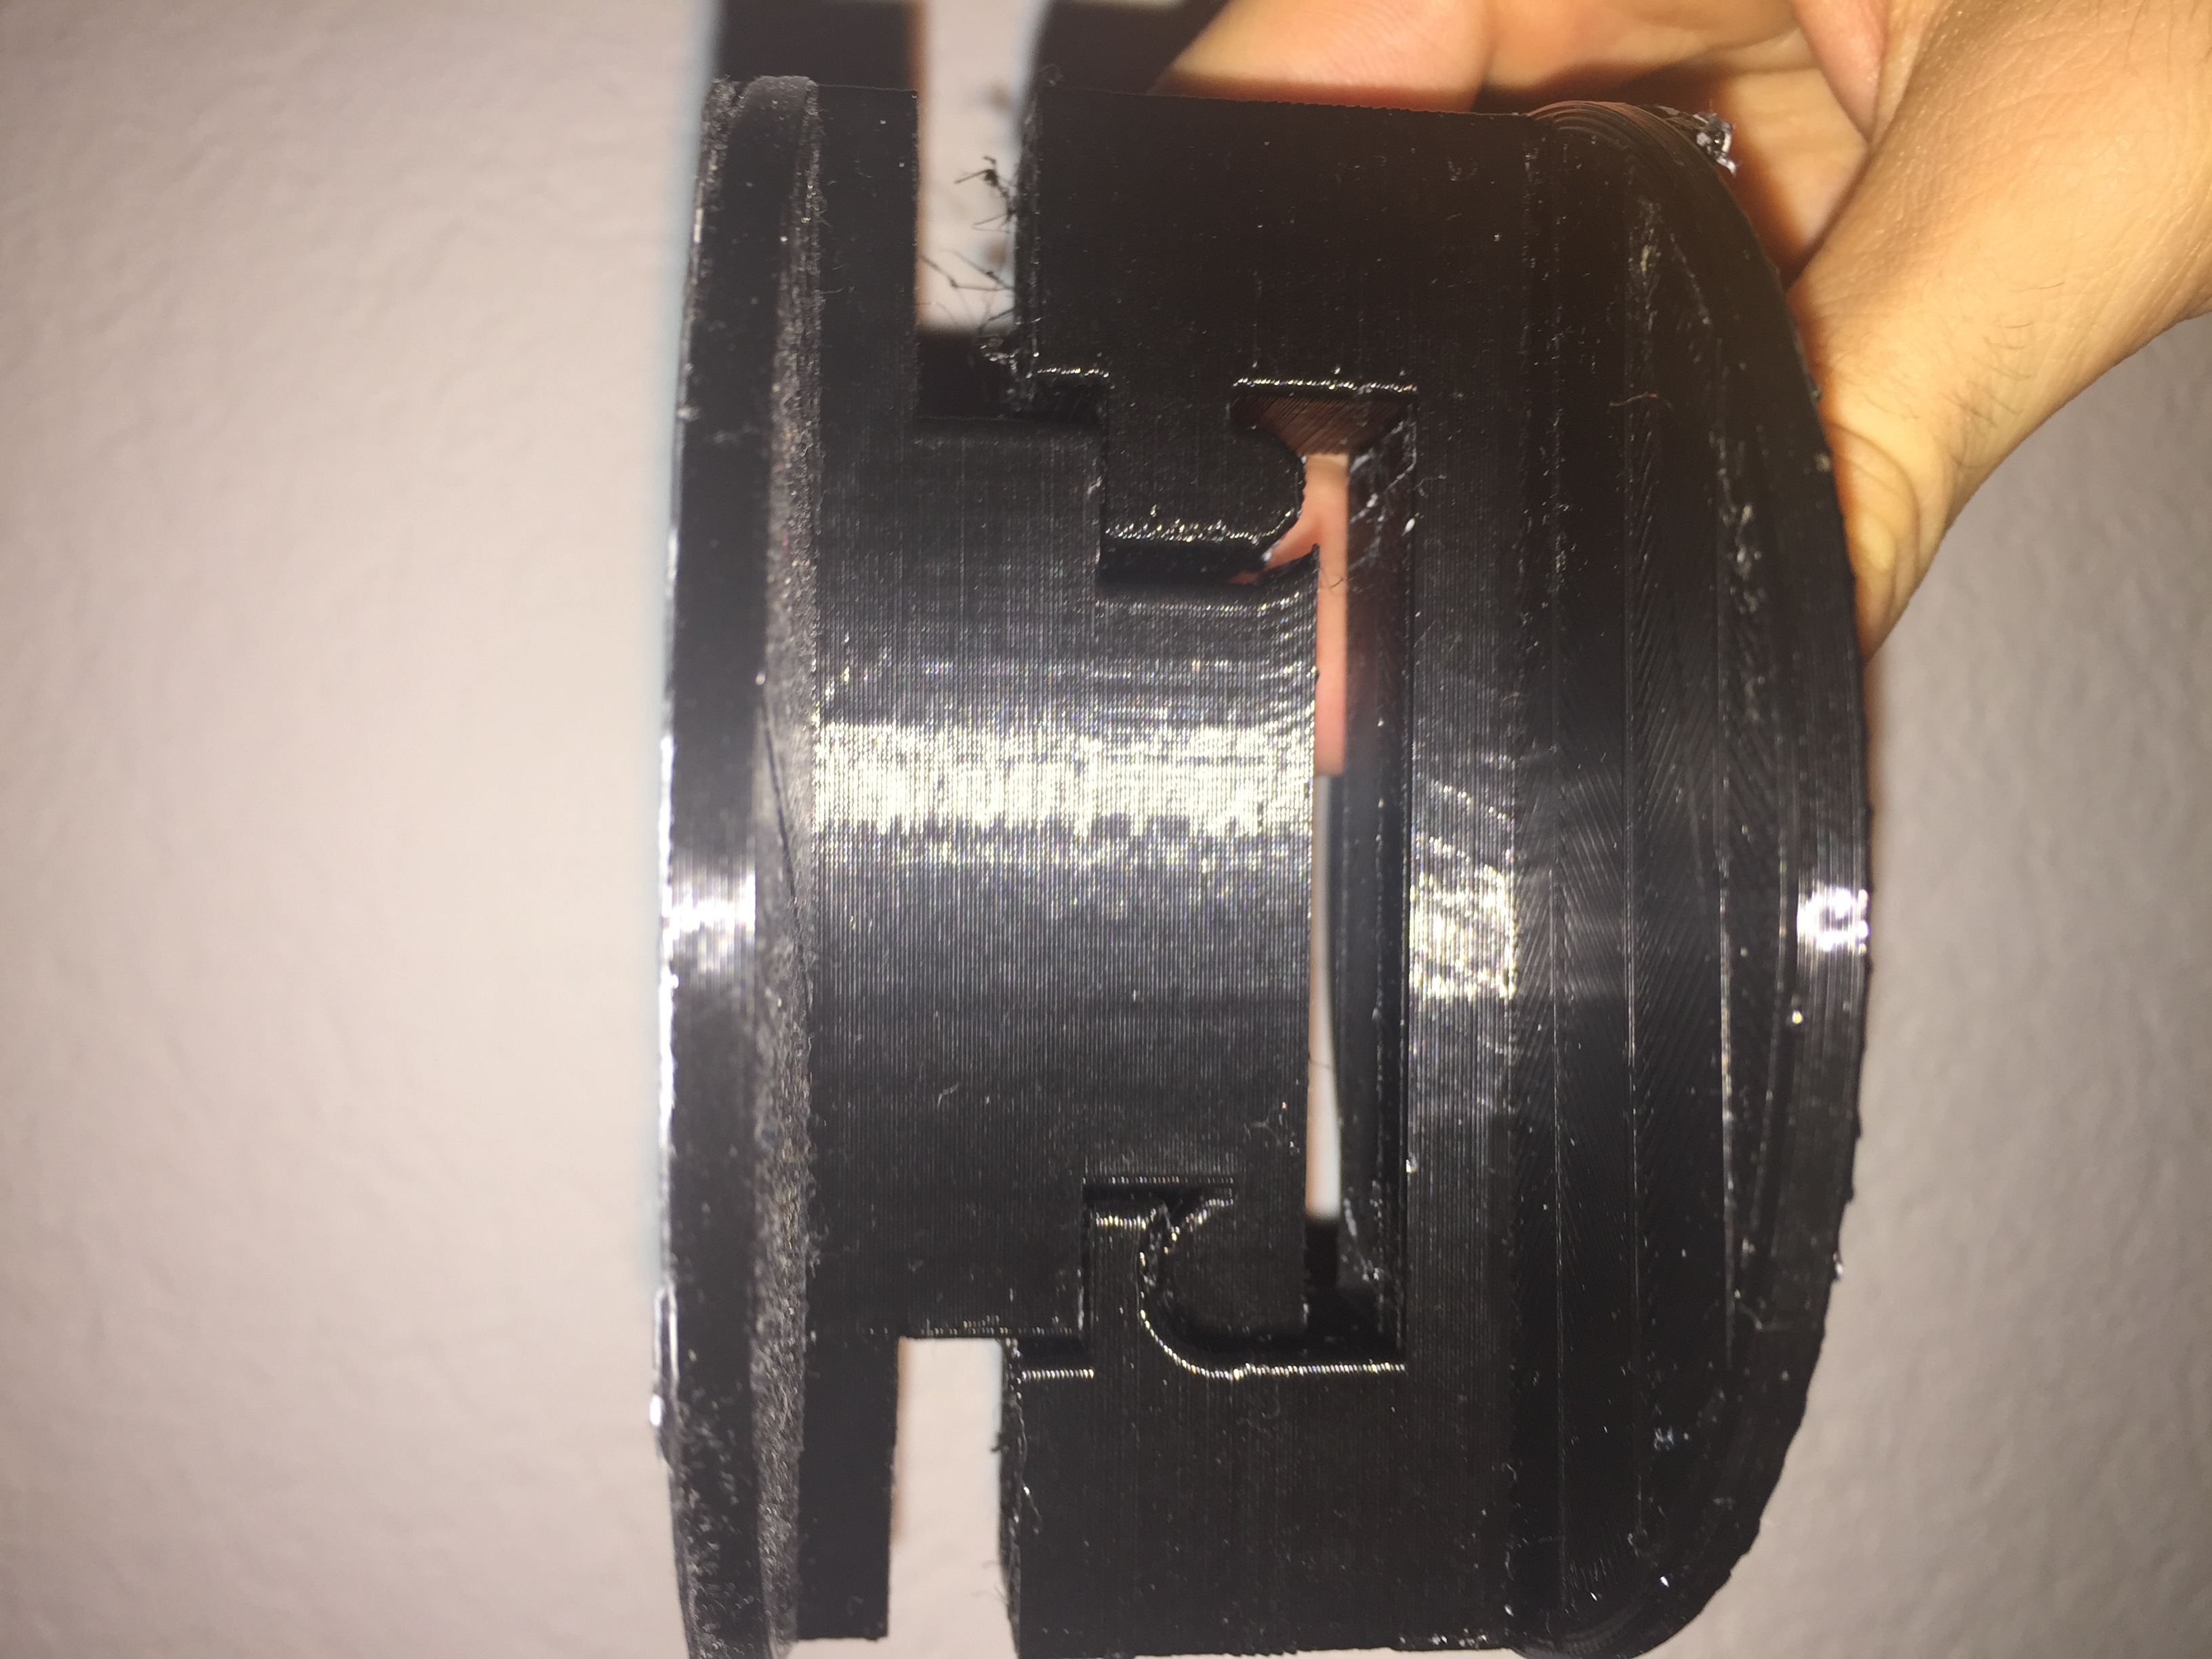
As you can see in the last picture you have to make sure that the material is enough to print the pieces otherwise that will happen and the pieces won't be completed. If the document is saved in the ultimaker cura 2 means that it won't work in other type as 2 or 3.